
In today's business landscape, email functionality plays a vital role in both marketing and business operations. With the increasing automation in CRM applications, there is a growing necessity for features that facilitate seamless communication, allowing businesses to effortlessly send emails to their customers. This article will provide a step-by-step guide on implementing email functionality in your CRM using the Azure Communication SDK.
Setup Azure Communication Service on Azure Portal
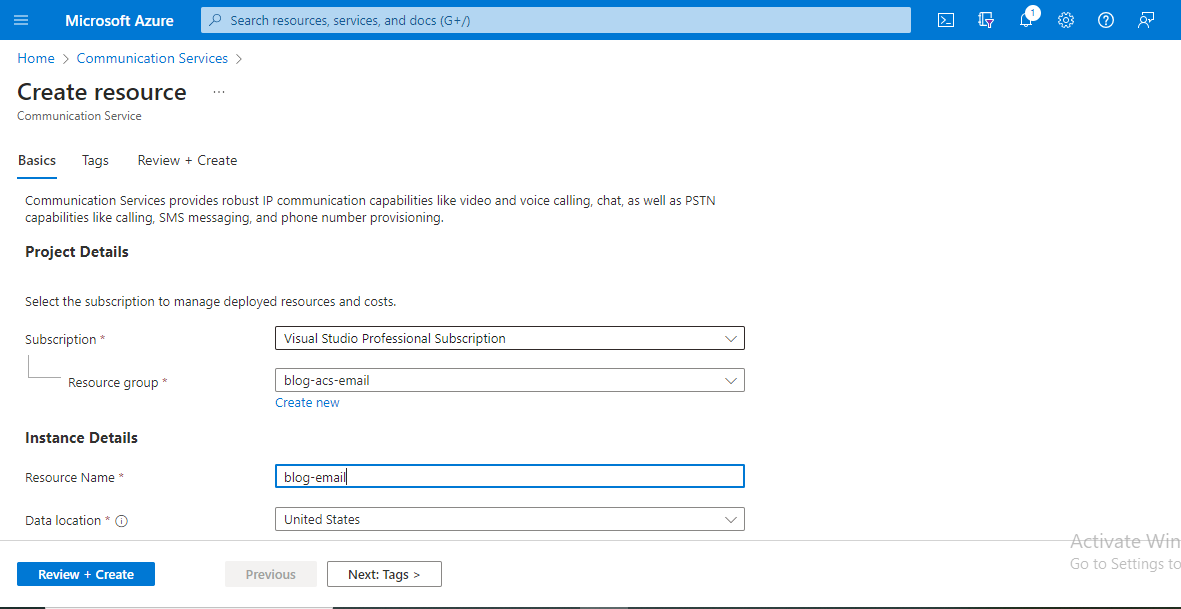
- Go to the Azure Portal, search for
Communication Service, and create a new Azure Communication Service resource namedblog-email.
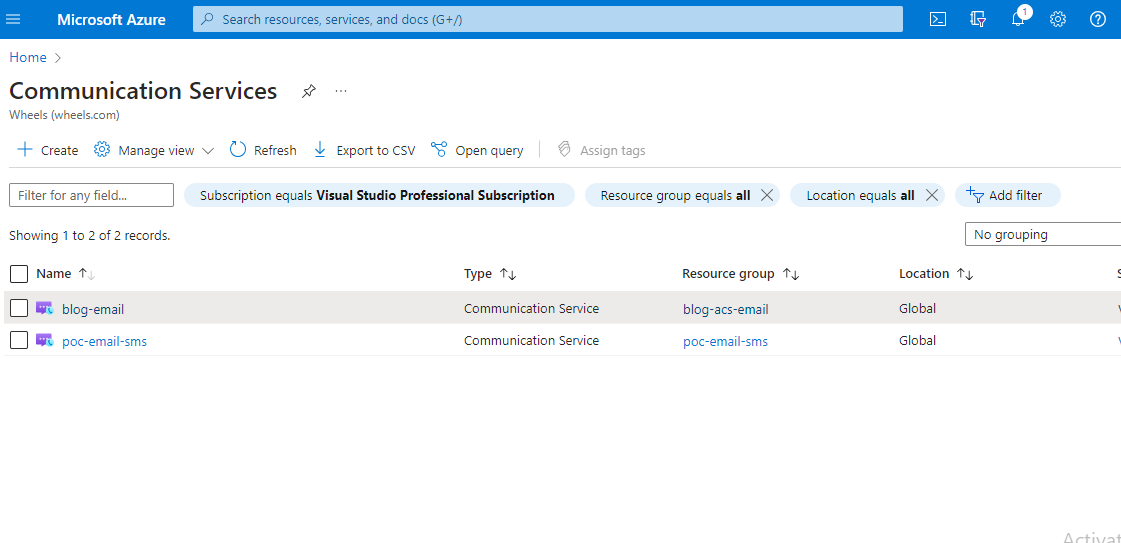
- After creating the service, it will take some time for deployment. Once completed, you'll be able to locate our new service under Communication Services with the name
blog-email.
- Go to the
blog-emailservice, where you will find theTry Emailoption; click on it.
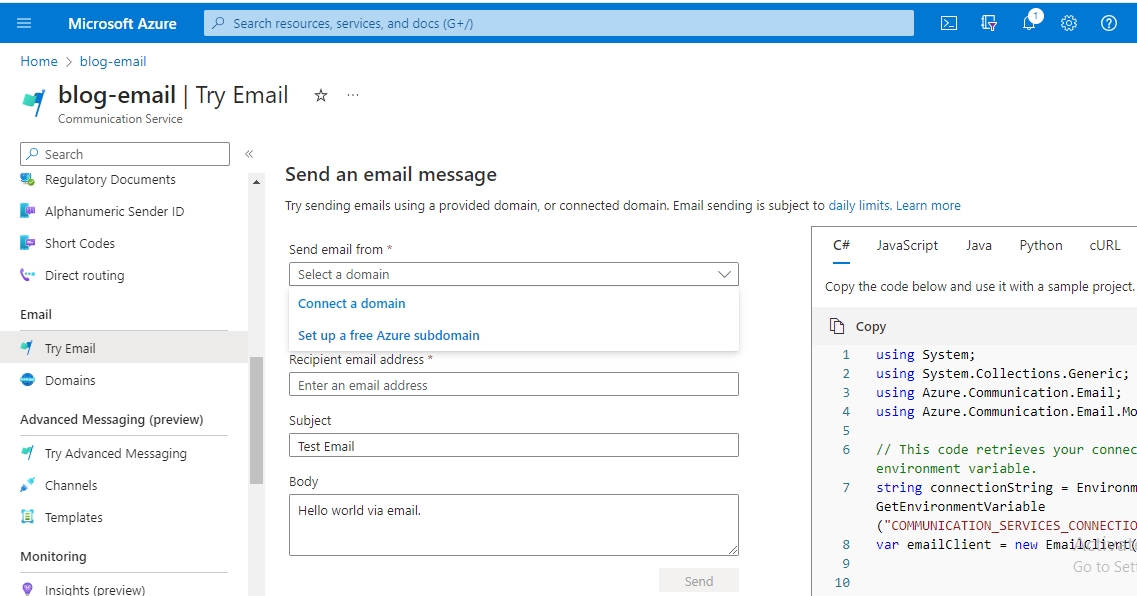
-
You have the option to link an existing domain for sending emails or acquire a new domain from Azure for this purpose. Refer to this post for detailed instructions on setting up a custom domain: Setup Custom Domain.
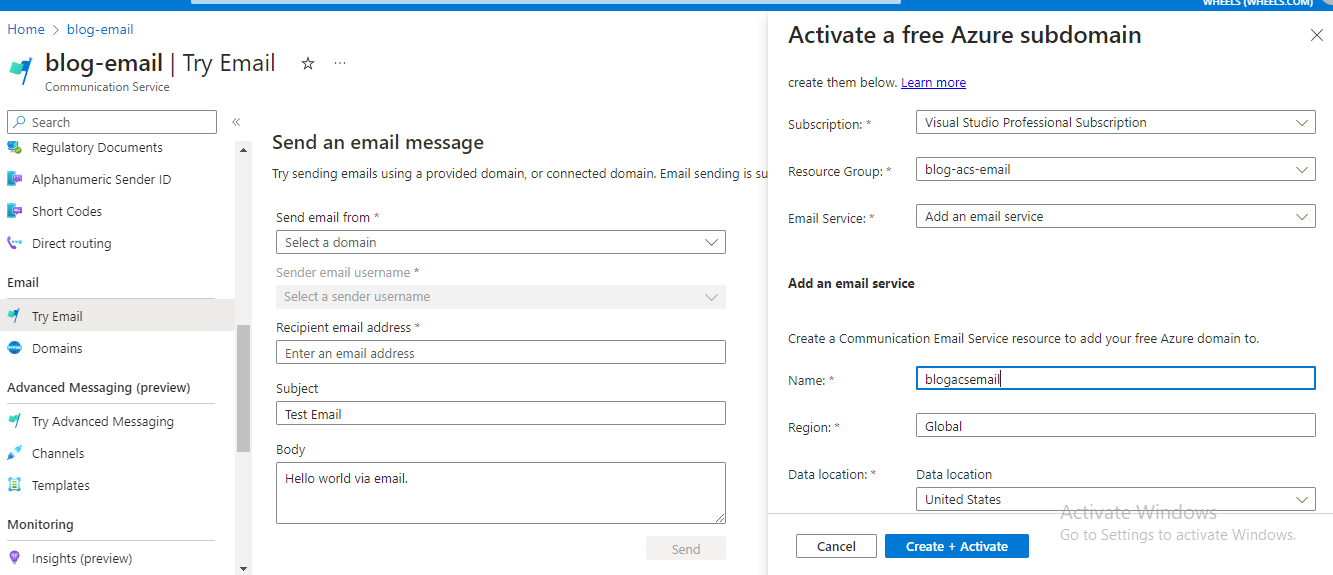
-
In this blog post, we'll be establishing a free Azure Domain, and the initial step involves creating an email communication service resource.
-
After setting up the domain, it will be visible in the dropdown list, and the sender name will be listed as
DoNotReply.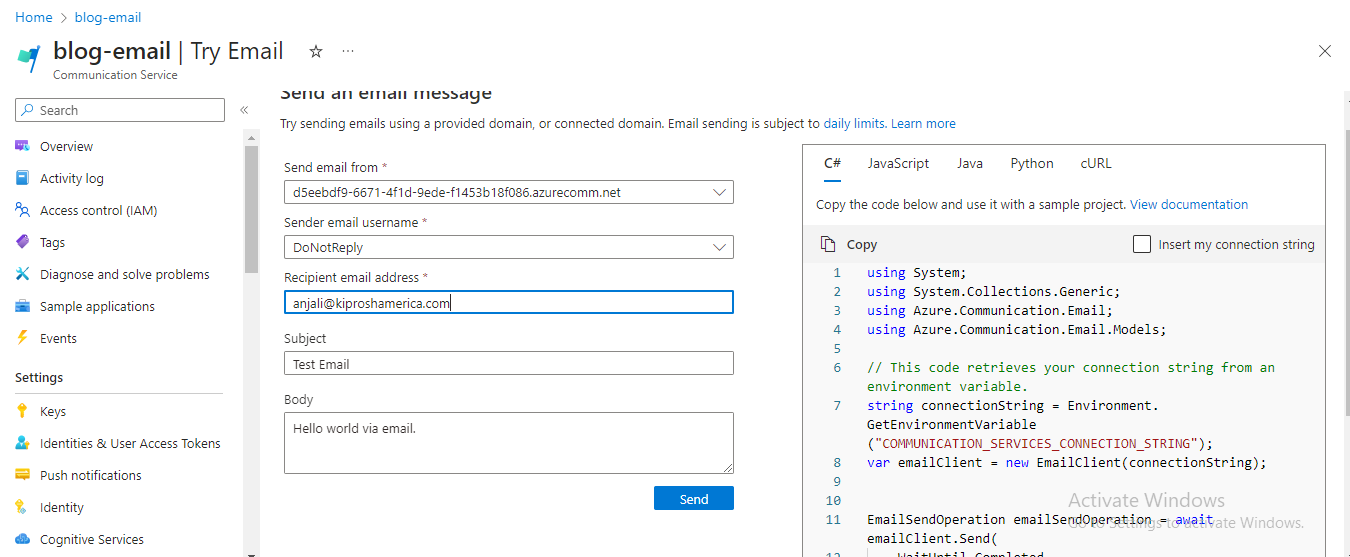
We've configured the Azure Communication service for sending emails. Now, let's see how to integrate it into our application.
Send emails in c# application
- Install
Azure.Communication.Emailnuget package in your c# application
The following code snippet illustrates how to establish a connection to Azure Communication Service and send emails.
This approach allows us to seamlessly integrate email functionality into our application.
References:
